A MIST-y Amiga
(translation by Ignazio Palmisano)
Let’s say it, us old computer enthusiasts have an unescapable problem, which will sooner or later come to the fore. Time goes by, and things break because of wear: we can replace broken parts, but these components are no longer manufactured. A ‘soft’ solution is software emulators: this way, we can keep ‘safe’ (to an extent; entropy affects unused components as well) our precious, ancient machines and use modern computers emulating them. But, obviously, the ‘feel’, the pleasure of working with the real machine, is lost with software emulators.
There is a middle ground between new machines and old, original ones: hardware emulation. This is made possible by FPGA (Field Programmable Gate Array) technology: it consists of integrated circuits whose functions can be programmed via software. Basically, at boot the FPGA circuits are loaded with code that let the chip behave the same way as the traditional chip whose functionalities are being replicated. Input and output signals are identical to the emulated chip (well, aside from software bugs in the FPGA controller code).
For Amiga lovers, the website Lotharek builds and sells an FPGA Amiga emulator called MIST (it actually also emulates Atari ST, but the development of the Amiga version is the one currently most advanced) which uses FAT32 formatted SD cards as permanent storage. Intrigued by this project, I decided to buy a MIST and try it out. The cost is close to 200 € and, after my tests, I think it is worth the money.
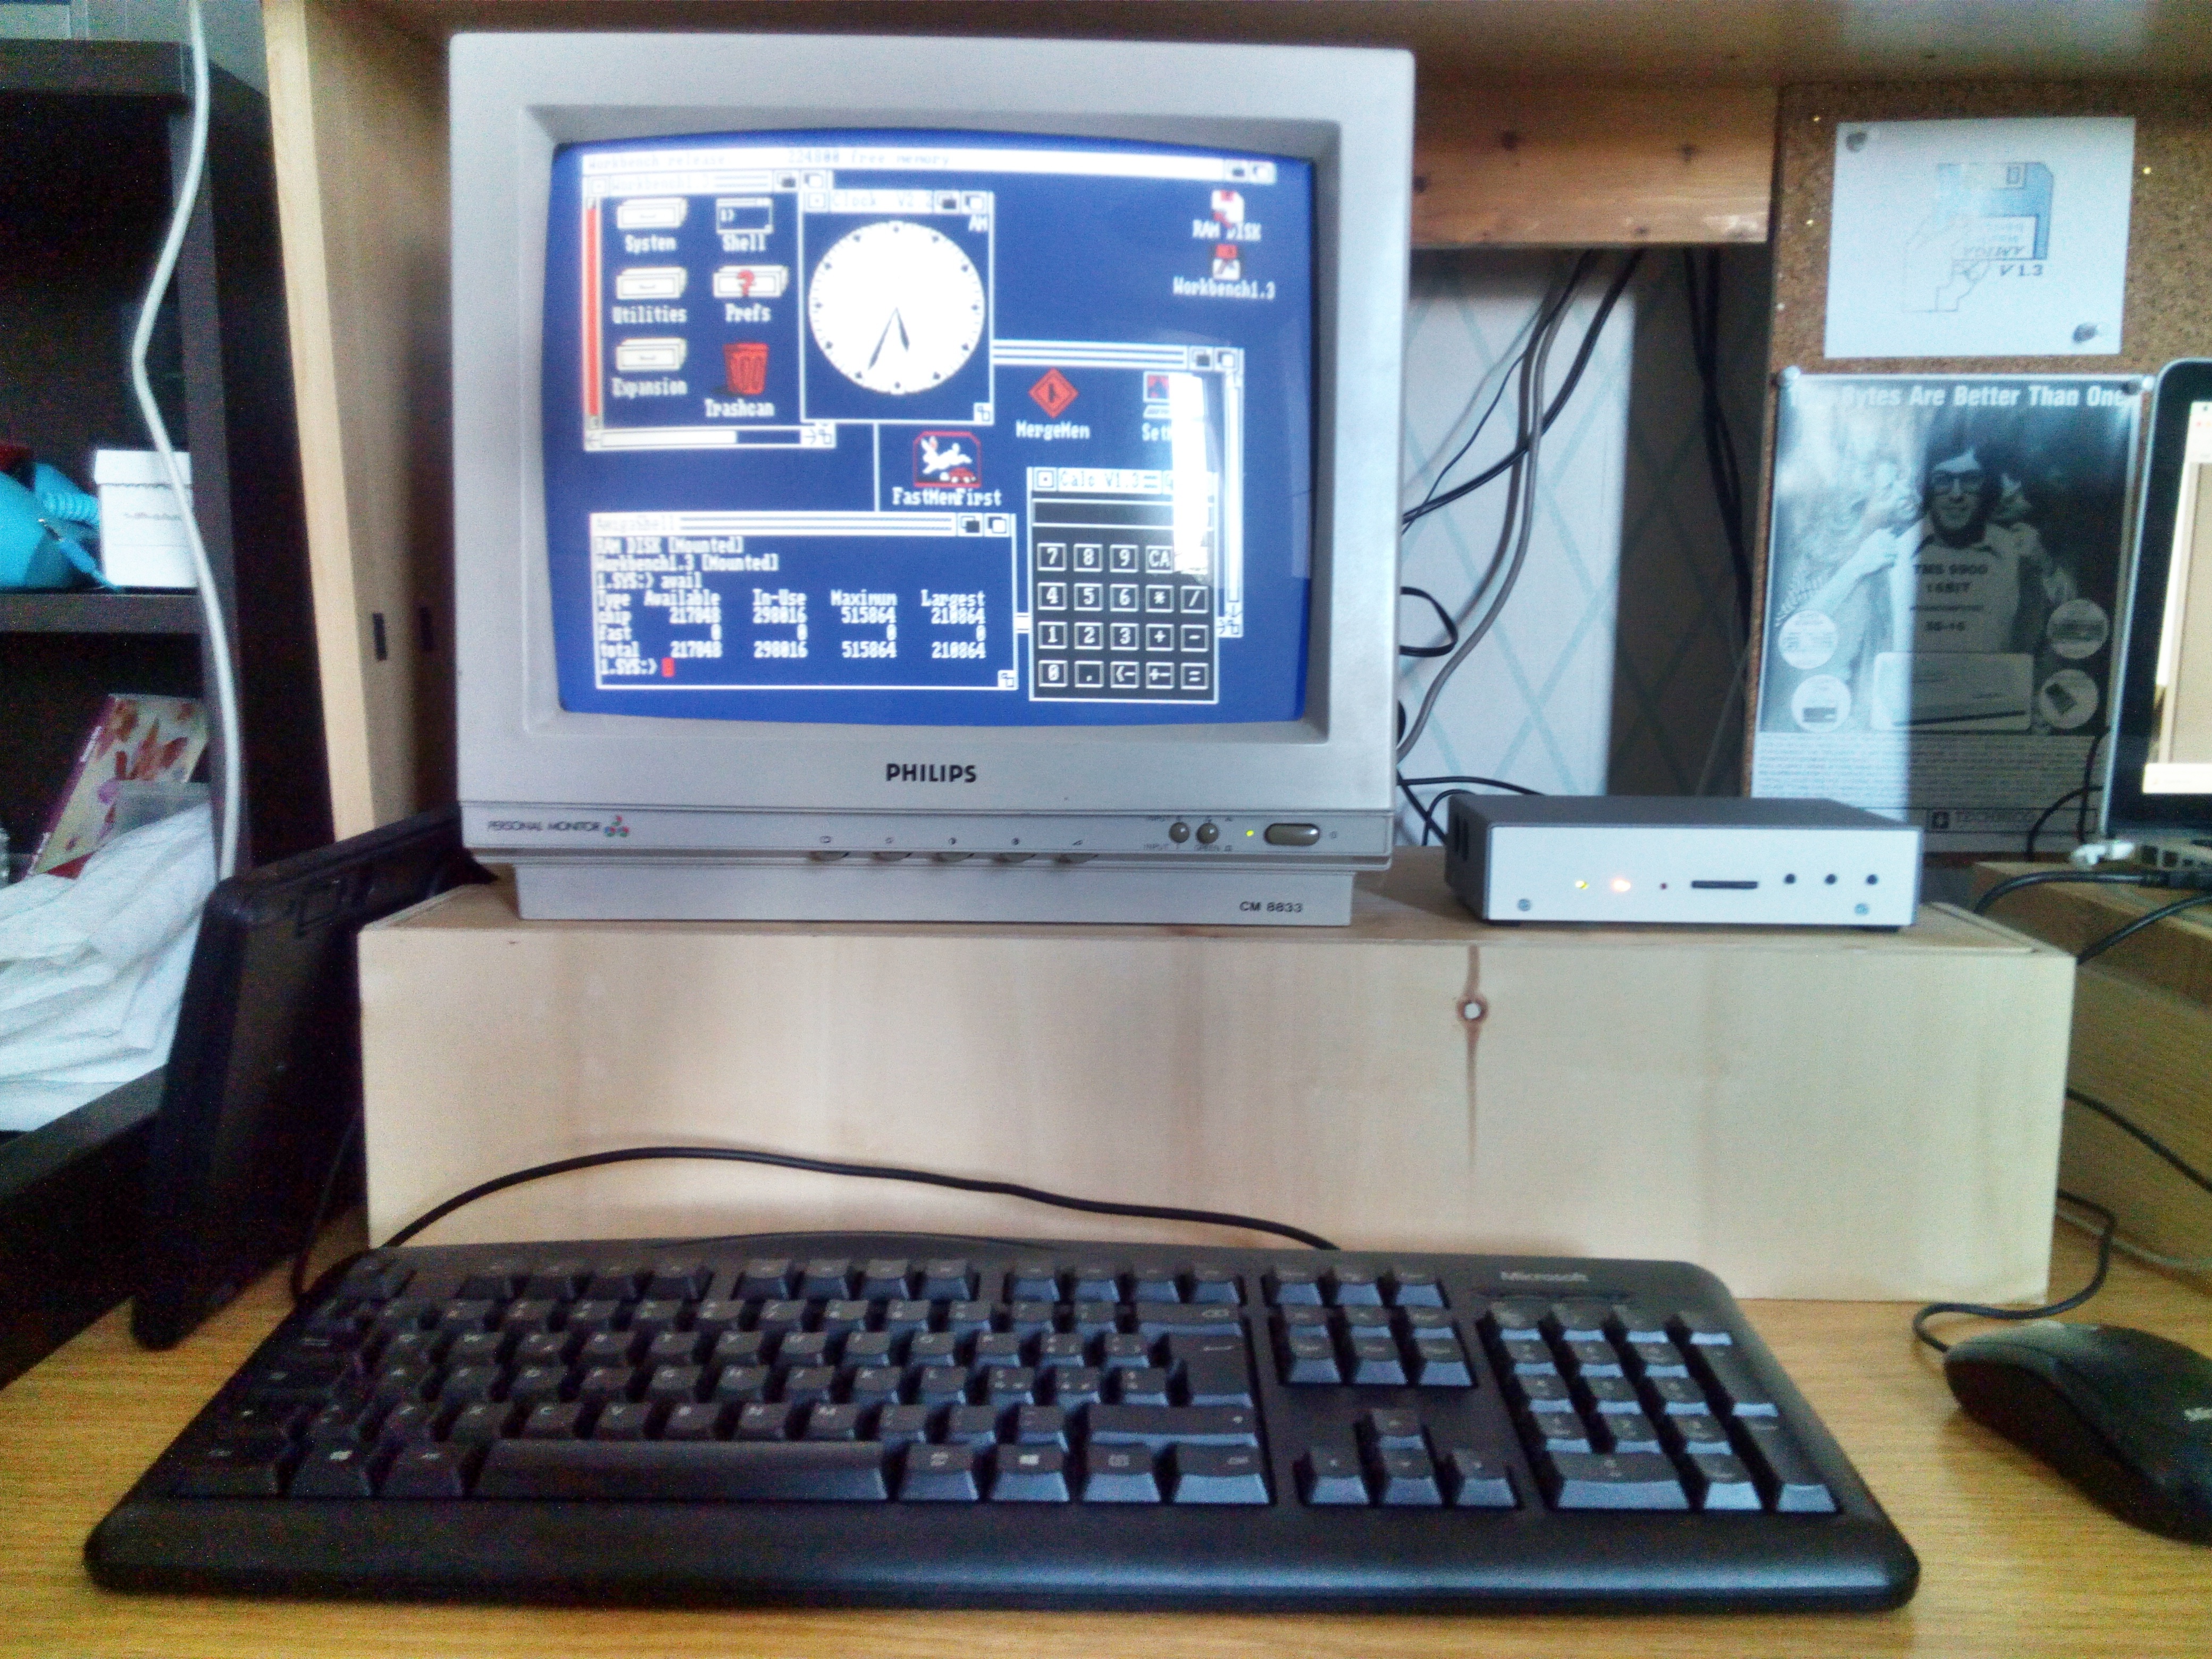
Appearance
The MIST has a clean, spartan design. Although an artisanal product, the build is solid. The card is packaged in a solid metal box, 16 x 4 x 9 cm in size. The four sides look like this:
Front:
- Led: (1) MIST power, (2) Amiga power, (3) SD card access indicator.
- SD card slot.
- Buttons: (1) MIST reset, (2) firmware menu, (3) firmware programmable button.

Right side:
- Joystick ports, ATARI compatible, or Amiga mice
Back:
- ON/OFF power switch
- Micro USB power input, 5V 300mA – compatible with cell phone chargers
- 4 USB ports, compatible with mouse, keyboard, joystick. External storage is not currently supported, e.g., no USB sticks.
- Audio stereo output: 3.5 mm mini-jack.
- VGA video output, 31 kHz standard, can be configured to 15 kHz for compatibility with TVs and monitors with SCART connectors.


Left side – Only for models with MIDI port
The MIST card includes an expansion slot, where extra peripherals can be connected. Currently there is only one such peripheral, a MIDI port connector card. It can be bought here: link1 and link2.
- MIDI ports are available on the left side (not included in the base model)

Connecting peripherals
Keyboard and mouse
Let’s get our hands on USB enabled keyboard and mouse. It is convenient to have an extended keyboard – the kind that includes a numeric keypad. This will come in handy later, when the “Enter” and “-” keys can be configured to add and remove virtual floppy drives. Bluetooth keyboard and mouse will work as long as they use an USB receiver and the HID protocol. My personal recommendation is for wired devices, cheap and guaranteed to work. From firmware version ATH160619 it’s possibile to use directly an Amiga mouse in one of the joy ports (on the right side).
Joystick
MIST is 100% compatible with Commodore and Atari joysticks, so the two DB9 side ports accept up to two such device.
MIST is also compatible with simple USB joysticks (i.e., four directions and one or more buttons). The common “classic remake” joysticks available on Amazon should work without problems.
There is a list of compatible joypads here.
Joystick Mapping: The Amiga core recognizes USB mice and remaps these to the Amiga ‘port 1’; another joystick will them be mapped to ‘port 2’. The connection of the second joystick also disables the mouse. The full mechanism is explained here.
Monitor
Using MIST with Amiga core it is possible to use the VGA output as is, or an adaptor cable to connect a classic monitor or TV with a SCART connection; The configuration instructions are below. You can buy an adapter cable on Lotharek (click here), or you can build it yourself – it’s a fairly straightforward project.
Configuration – part 1
Let’s configure a MIST to work as an Amiga. We’ll get a FAT32 formatted SD card (take into account that the maximum file size for this file system is 4 gigabytes; this is important if we plan to create image files for hard disks). We then need the following files:
- Core MIST for Amiga, it can be found in three places:
- Core Minimig – MIST github
- Core MinimigAGA – MIST github
- Core MinimigAGA – from SoMuchGuru
Personally I recommend the third option (SoMuchGuru), which is currently the most up to date. Once you download the .rbf file, rename it to core.rbf and copy it in the SD card root.
- Amiga Kickstart. This is copyrighted material, so there’s no link for it. You can buy it for example on Cloanto. Rename the file as kick.rom and copy in in the SD card root
- ADF Files, i.e., image files for your favorite floppy disks. These can be placed freely on the SD, creating folders as you see fit.
- (optional) mist.ini: at this point you need to decide between VGA and SCART connection. For SCART connection, you need to create a plain text file (mist.ini), to be copied in the SD root, containing the following text:
[mist]
scandoubler_disable=1
Now the SD card is ready to be inserted in the MIST. Turn the machine on and you’ll be met with the familiar kickstart screen, waiting for a floppy to be inserted. The external configuration is complete, we’re left with “on the road” configuration, to mount and unmount virtual floppy drives (the ADF files mentioned above), set up available memory, and so on.
Configuration – part 2
At this point, MIST is waiting for a floppy. The firmware menu (called OSD Menu – On Screen Display Menu) can be accessed in three ways:
- Press F12 on the keyboard
- Press “option” on the keyboard
- Press the middle button on the MIST front panel
A menu (scrollable with the UP/DOWN cursor keys, can be exited with the ESC key), while the OS continues running in the background. In the first screen shown, it is possible to mount and unmount ADF files from the two (initial) DF0 and DF1 floppy drives available. To add a drive, press the “ENTER” key. To remove a drive, press the “-” key on the keyboard.
Moving with the RIGHT/LEFT cursor keys, it is possible to access other configuration items. In general, it is possible to:
- Change the kickstart, selecting another .ROM file.
- Change the processor type being emulated: 68000, 68010 and 68020.
- Change amounts of ChipRAM, FastRAM and SlowRAM. Max values are:
- Chip RAM: 2 MB
- Fast RAM: 24 MB
- Slow RAM: 1.5 MB
- Enable or disable the IDE interface (A600 type) for hard disks. HDF image files are supported.
- Save and load up to 5 preset configurations.
Hard disk support (.HDF)
As mentioned above, HDF file images are supported, the same used by WinUAE. I recommend the use of WinUAE to create empty HDF files, to be copied on the MIST SD card. The Amiga 600 IDE interface is emulated.
WARNING: The SD card, which is FAT32 formatted, supports files up to 4 GB in size. So it is wise to not get too close to this size; I recommend 3 GB as a safe upper limit.
“Amiga” keys and software reset
On the PC keyboard, the ‘Amiga’ right and left keys are mapped to the ‘Windows’ keys. To execute a software reset (the famous “CTRL + A + A”) use the CTRL + Left Alt + Right Alt keys.
Performance
As you can tell from this SysInfo screenshot, the maximum performance (obtained setting CPU to 68020 and RAM to maximum) is equivalent to a 68020@88MHz CPU, comparable to 1.5 of an Amiga 3000. This is just speed: there is no MMU nor FPU emulation.

File exchange
To copy single files in the MIST images, I used ADFOpus to build ADF images on PC containing the desired files. The images can then be copied on the SD card. It is also possible to use WinUAE to read/write the .HDF files used by MIST.
Compatibility
This is the most interesting feature, and the Achilles’ heel, of all applications like this one. In general, MIST compatibility is good but not total. In many cases, the compatibility issues are identical to the original compatibility problems, e.g., some software packets rely on a specific Kickstart version, the presence or absence of the second drive, or the presence/absence of FAST memory; these are the relatively simple cases, as it is sufficient to reconfigure the MIST to get past them. In some cases, however, no configurtion change allows some programs to run. As an example, I have managed to install and run AMOS Professional 1.12 without problems, while version 2.0 cannot be installed. The installer crashes (ops… “Guru Meditation”) after a few seconds. The same for Caligari 2.4 AGA: the installation is successful but all attempts to run it crash.
On the plus side, the cores are under active development, and therefore under continuous improvement by the communitiy.
“Feel” and personal final verdict
My personal judgement is that this is a good product, worth the money it costs; the feeling is the same as an original Amiga, with a few extras:
- The hardware is not 30 years old.
- Extremely small footprint, strong case, well built.
- Hardware emulation, so reduced power needs: 5V 300mA.
- Reverse engineering, and therefore core, actively developed.
- 100% compatible with original joysticks and some USB joysticks.
- Fast configuration; to back up, it is sufficient to copy the SD contents.
- Support for VGA and SCART monitors.
- User experience very similar if not identical to a real Amiga, especially with a SCART monitor.
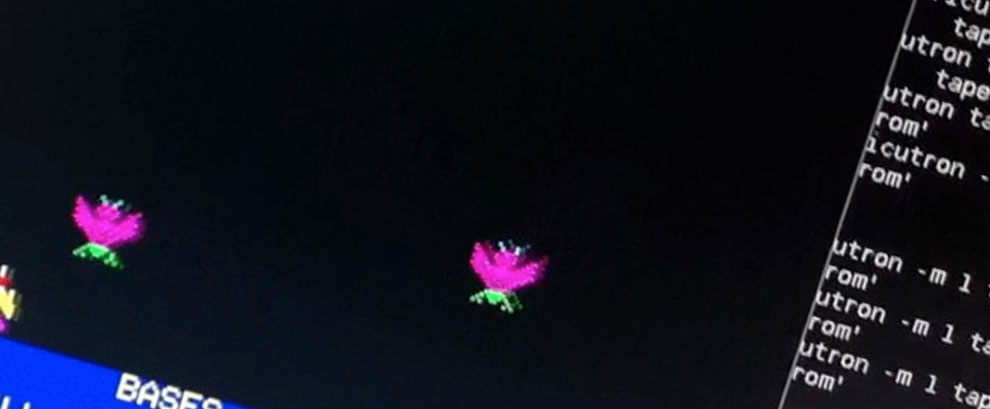
Field test
Nothing else left but to wish you great fun with the MIST, and say goodbye with a few field test screenshots I put together while preparing this article. See you next time and happy retrocomputing to all!
Development Workstation – compilers and utilities


Real3D 1.4 – Modeling and rendering


A classic – Kick off


Pinball Dreams and Switch Blade II


External links:
- FPGA – from Wikipedia
- MIST – Official Lotharek website
- MIST with MIDI interface – from Lotharek
- Separated MIDI add-on – from Lotharek
- MIST-to-SCART cable – from Lotharek
- Step-by-step guide
- Joystick-mapping guide
- List of supported peripherals
- Download cores – origin
- Download specific MinimigAGA core by SoMuchGuru
- ADFOpus – tool for managing ADF files
- WinUAE – to create empty HDF files
- AmigaForever – to get legally a Kickstart ROM.